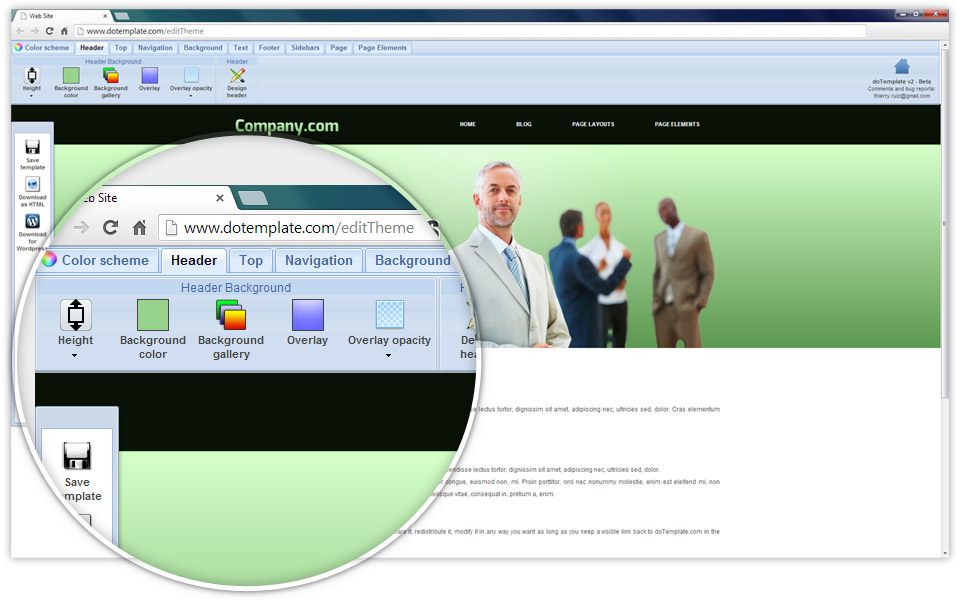


Web design made easy
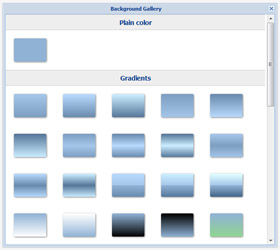
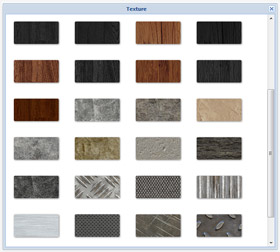
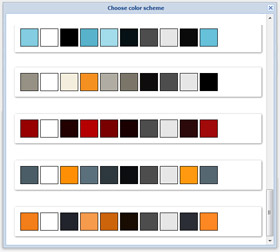
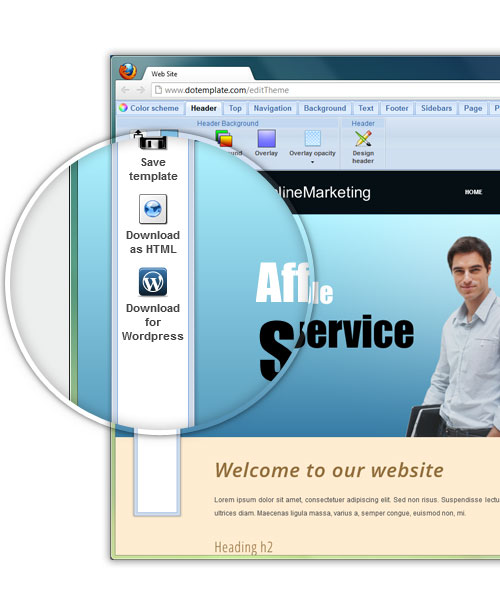
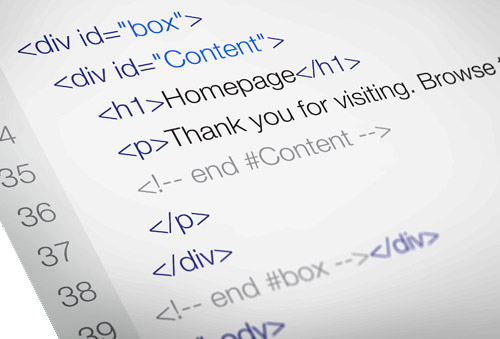
Making your own Web template has never been easier. Our free online editor makes it a matter of minutes. No software to install. No Photoshop needed. No tricky PSD to HTML conversion required. No design service to pay. All you need is there to create a stunning custom Web design ready for download. It's quick, easy and fun !