

6 steps to apply doTemplate WordPress theme
In this tutorial, you will learn how to deploy a WordPress theme created and customized with doTemplate on your WordPress site. WordPress is probably the most widely used Content Management System (CMS) running millions of web site around the world. WordPress makes it easy to create and edit your own website. WordPress is an excellent way to start your online presence in a few steps. With doTemplate theme and WordPress, you can publish your own website today.
.videoWrapper {
position: relative;
padding-bottom: 56.25%; /* 16:9 */
padding-top: 25px;
height: 0;
}
.videoWrapper iframe {
position: absolute;
top: 0;
left: 0;
width: 100%;
height: 100%;
}
.videoCaption {text-align:center;margin:20px auto 60px auto}
Pre-Requisites
Before being able to deploy a doTemplate theme on WordPress, here are the pre-requisites:
* You must have a WordPress installed on your server. If this is not the case, you can follow this tutorial.
* If you already have a WordPress installed and want to change a theme, make sure you have done necessary backup before deploying a new theme. Here is the tutorial on how to backup your WordPress.
* a downloaded doTemplate WordPress Theme in zip file format. Below is the screenshot of the template that we will deploy in this example.
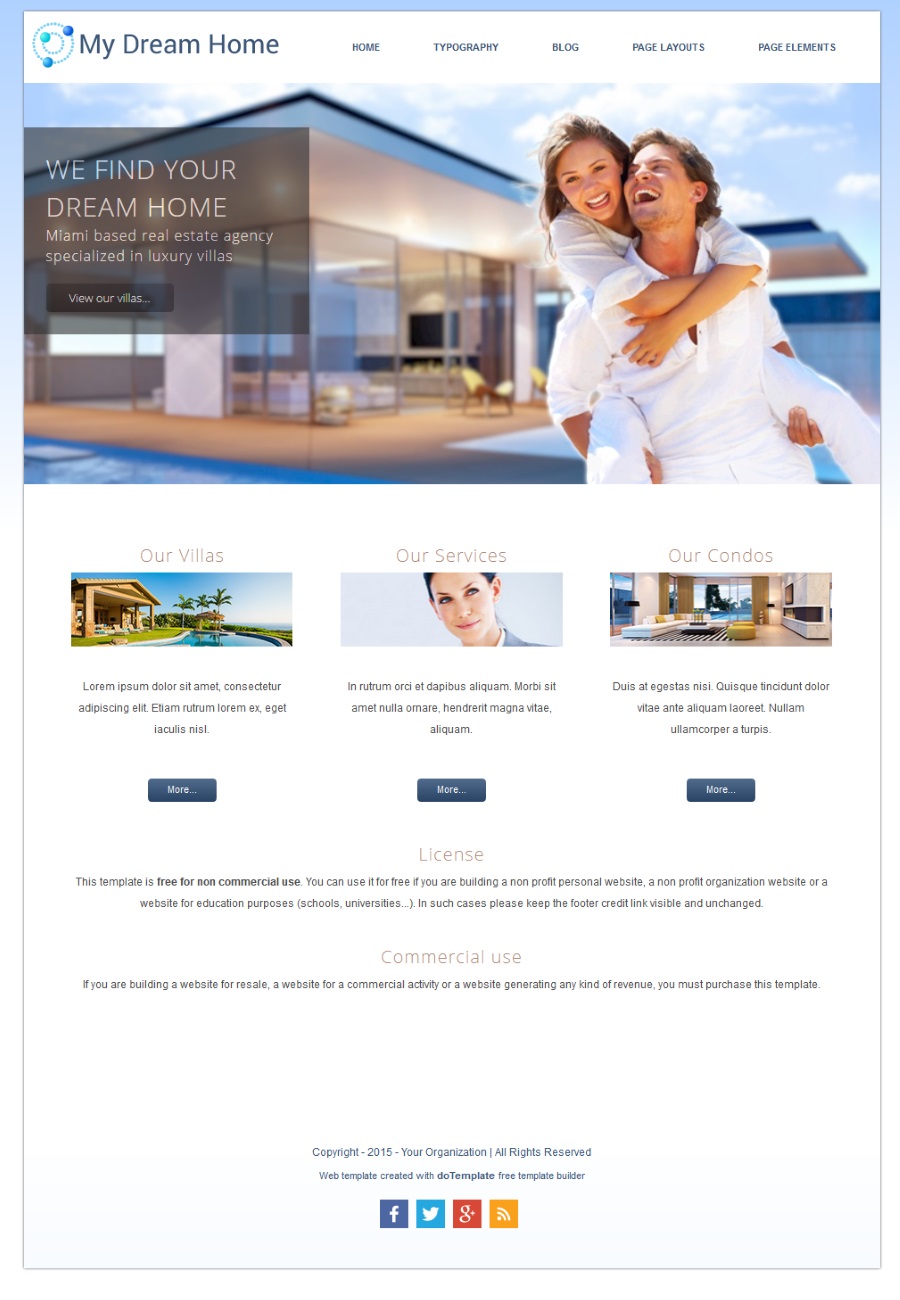
Customized WordPress Theme from doTemplate
Now, let’s deploy WordPress theme on your server
Step 1: Login to your WordPress site
This is the welcome screen or Dashboard once you login to your WordPress.

WordPress Dashboard
Step 2: View your site
If you preview your site, it will look something similar to the screen below. By default, when you install WordPress, the latest theme, in this example, Twenty Fifteen, is active.
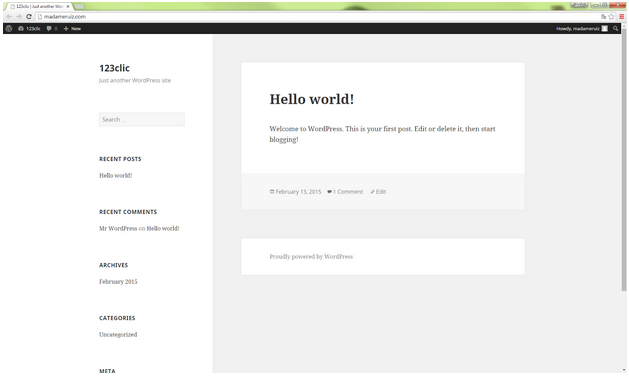
Dashboard – Preview your WordPress site
Step 3: Load and apply a new theme
To see the details about the theme on your site, go to Appearance Menu, Themes. Below is the screen showing you the available themes on your site and the active theme.

Dashboard – Available Themes on your WordPress
To deploy a new theme, go to Appearance,Themes. Click “Add new” button to add a new theme, then click “Upload Theme” button, then upload the zip file that you have saved from doTemplate as a WordPress format.
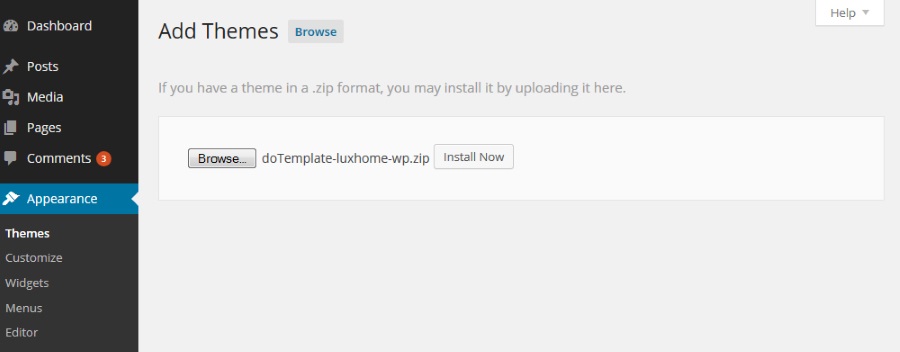
Dashboard – Add themes
One the theme file has been uploaded successfully, click “Install Now” to apply the theme on your WordPress site. Below is what you should see if the theme has been deployed successfully.
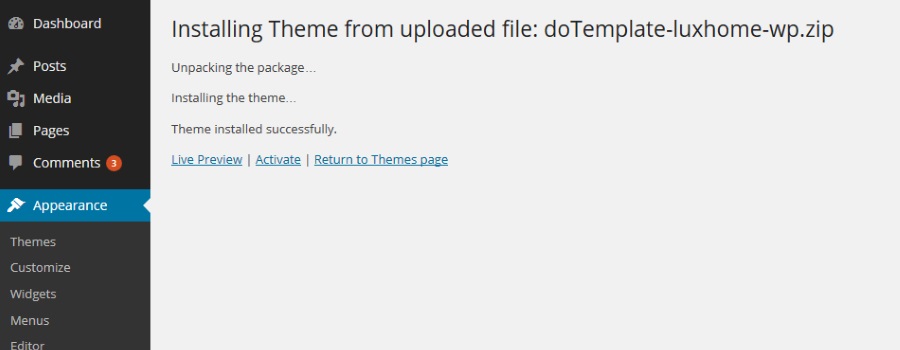
Dashboard – Theme deployed successfully
Step 4: Customize and Activate your theme
You can customize your theme by clicking “Live Preview” link. You can edit Site Title & Tagline as you wish to suit your website description. Don’t worry, you can always change it later.
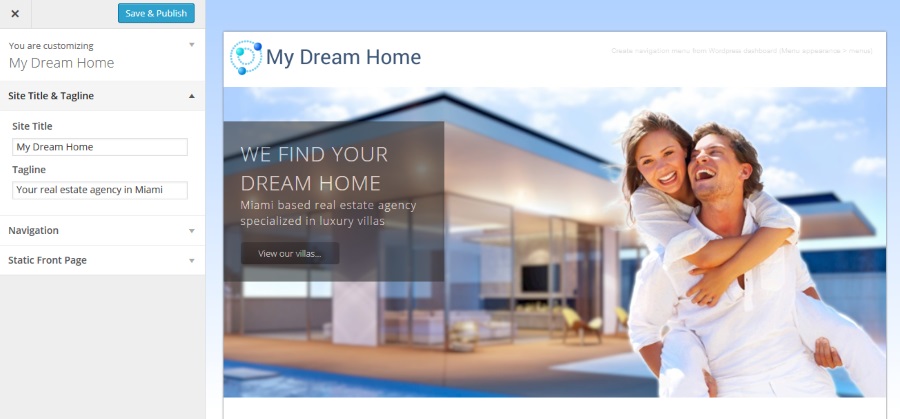
Dashboard – Theme Live Preview
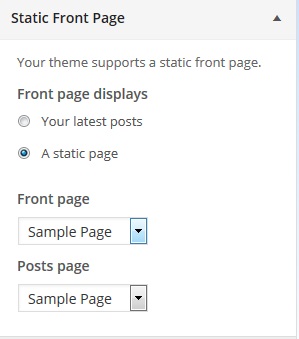
Static Front Page
In Static Front Page section, choose what you would like to display on your front page, your latest posts or a static page. In this example, we will go for a static page Sample Page.
You will also see the message ‘Create navigation menu from WordPress dashboard’ is shown on the upper right corner on the header section. This is not an error message. In this step, you will not see the horizontal menu on the right hand side of the header yet, we’ll create it in the next step. Click the button “Save & Activate” once you finish.
Step 5: Personalize the menu
In order to see the horizontal menu on the top, you will have to configure the Menus section in Appearance as follow:
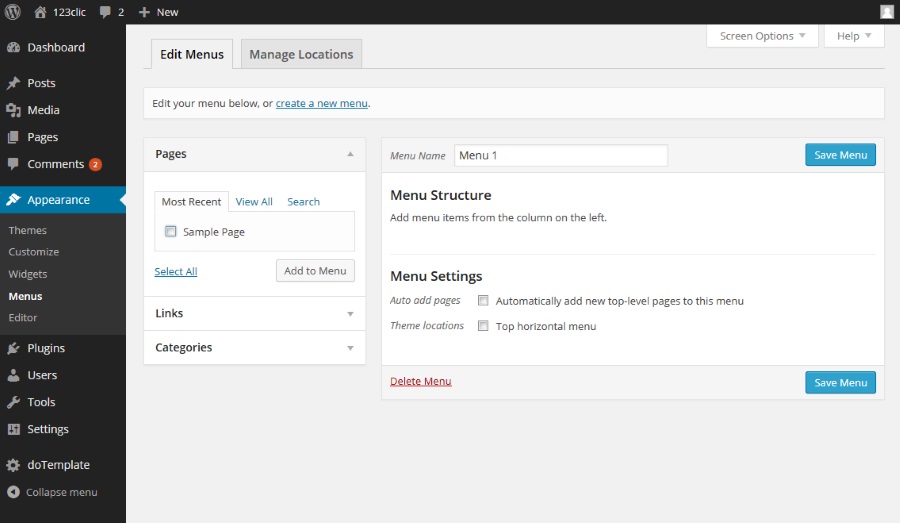
Dashboard – Menu Settings
* In Pages area, choose Sample Page and click “Add to Menu” button.
* In Menu Structure area, expand the menu that we just added, change the Navigation label to the menu name that you’d like to put. In this case, we change it to “Our services”.
* You can also change the Menu Name if you wish.
* In Menu Settings, make sure that you check the “Top horizontal menu” option to make the menu visible on your website.
* If you want to add a new page to this menu automatically, check the “Automatically add new top-level pages to this menu” option.
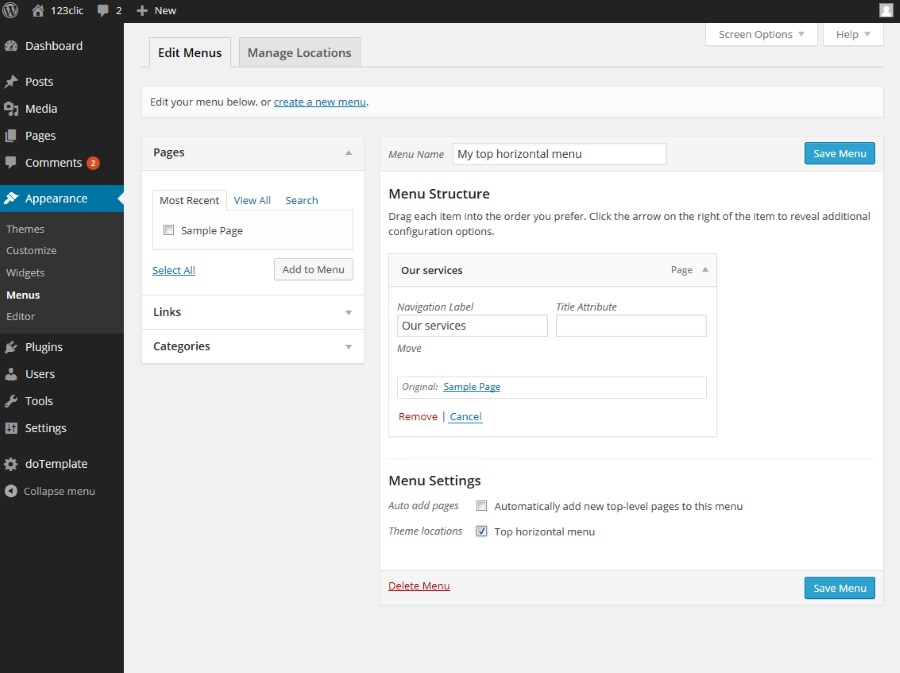
Dashboard – Personalized Top Horizontal Menu
Click “Save Menu” button when you finish customizing the menu.Now if you preview your website, you will see that the top horizontal menu is now visible. You can add more menus as you like, just repeat the operation.
Step 6: doTemplate settings
When you activate doTemplate theme in your WordPress, doTemplate settings is activated. doTemplate settings allow you to personalize the following items through WordPress Dashboard more easily:
* Footer copyright text
* Page Layout: Sidebar left, Sidebar right, Sidebar split, or Two sidebars on the right.
* Post Layout: Image on top, Image on the left, or Image on the right.
* Custom CSS: In this section, a custom CSS can be added.

Dashboard – doTemplate Theme Settings
Once you finish personalizing the theme, you can preview your site. And here you are, your beautiful WordPress site!
doTemplate WordPress Theme deployed successfully
Congratulations! You have just successfully deployed your first doTemplate WordPress theme on your WordPress site. If you see a comment box shown on your home page, don’t worry. Please follow this tutorial to remove the comment box from your page.
Recommended Further readings
You might also like to check out the following tutorials.
WordPress related tutorials
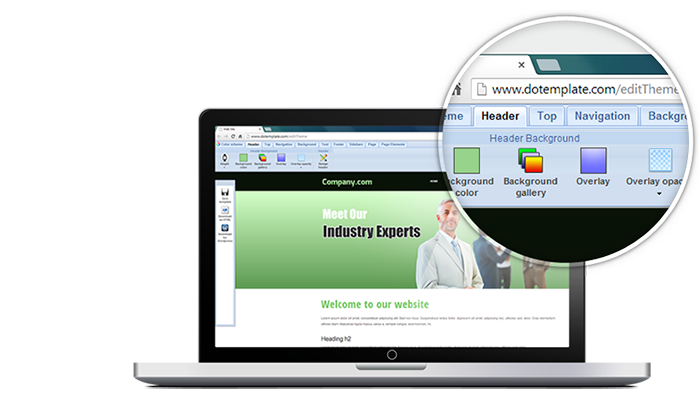
Customize doTemplate web template with Online Template Builder
Remove a comment box from a WordPress page or post
Create a new post
Create a new page
Create responsive columns in a Page or a Post