Home › WordPress › How to Install a WordPress Theme: Three Ways, Step by Step
How to Install a WordPress Theme: Three Ways, Step by Step
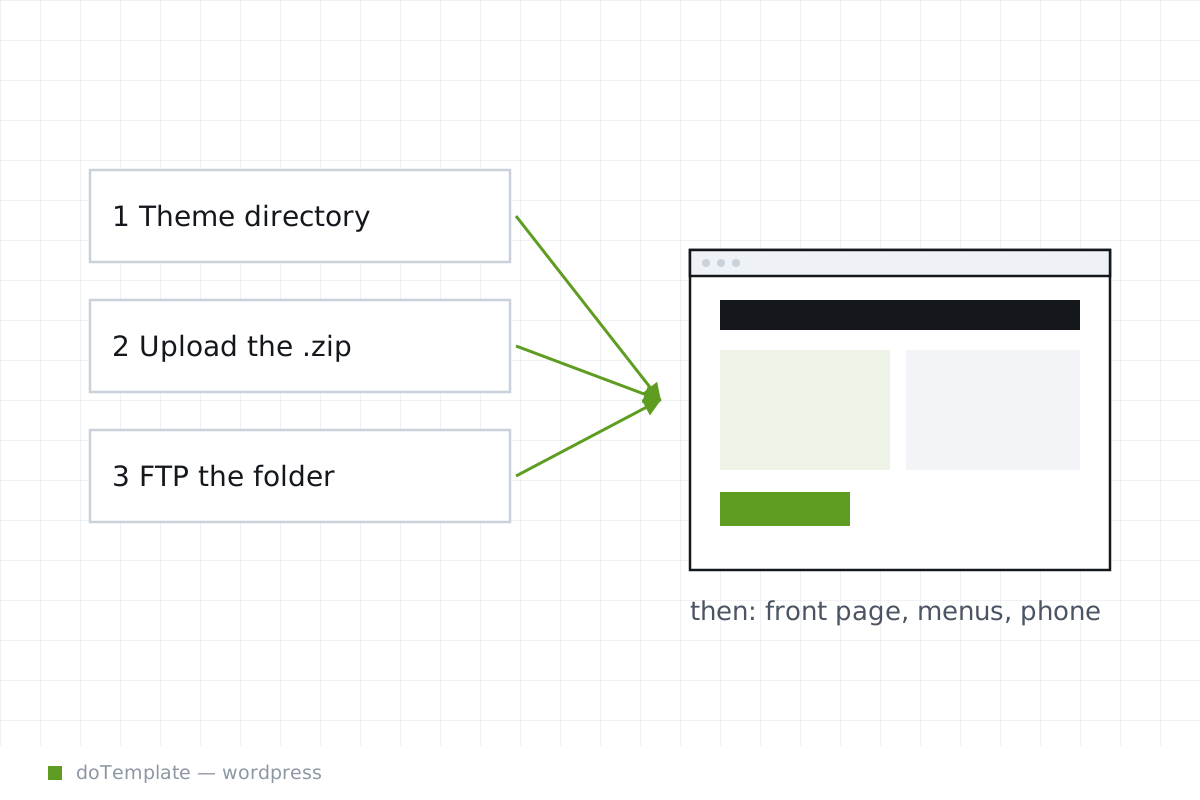
To get a WordPress theme onto your site, you have three paths: installing from a directory of themes, loading a ZIP from your desktop, or copying the files manually through FTP or a file manager. WordPress officially documents all three as valid.
In this article
From the dashboard to the theme directory
The simplest way to install a WordPress theme is from your site's administration screens. Log in and go to Appearance > Themes. Click Add New.
That takes you to a directory of free curated themes. Use the Select link under any theme to preview it. When you see a theme you like, click the Install button. After it finishes, click Activate in the dialog box or launch the Themes page to make this theme your current one.
Uploading a ZIP
To install a theme from a.zip file on your local machine, log in again, visit Appearance > Themes, and aim for Upload Theme at the top. Choose a.zip file and click Install Now.
You do not upload the entire.zip into the installation. WordPress instructions say it will have themes in a folder named after the theme, and not to forget to maintain the directory structure. [WordPress.org Documentation - specifies uploading the extracted theme folder]
Installing by FTP or file manager
Here, too, you start with a theme ZIP file. After extracting it — don't forget an inner folder that has the same name as the ZIP — upload it to /wp-content/themes/ by FTP or through your hosting account's web-based file manager. [WordPress.org Documentation - specifies uploading the extracted theme folder]
It must go exactly where WordPress expects. Visit your website root and find a directory called public_html or htdocs. Inside that, open wp-content, then themes, then upload the theme folder you extracted from the ZIP.
Now, the theme should be in your Appearance > Themes page, waiting to be activated.
What to check before activating
Logged in to Appearance > Themes, make sure your theme is installed. You will see it next to the currently active theme.
Check the theme was uploaded where WordPress expects it, without a ZIP-like folder wrapping the theme files. Verify the folder matches the name of the theme. Until you see it here, the installation is incomplete.
What to do immediately after activation
Activating a theme is not enough. WordPress documentation lists a post-activation checklist: setting up menus and widgets, configuring template parts, establishing a static front page, and testing on small screens.
This is especially important for premium and custom themes, which can radically change a WordPress site on activation. This is a clear boundary